
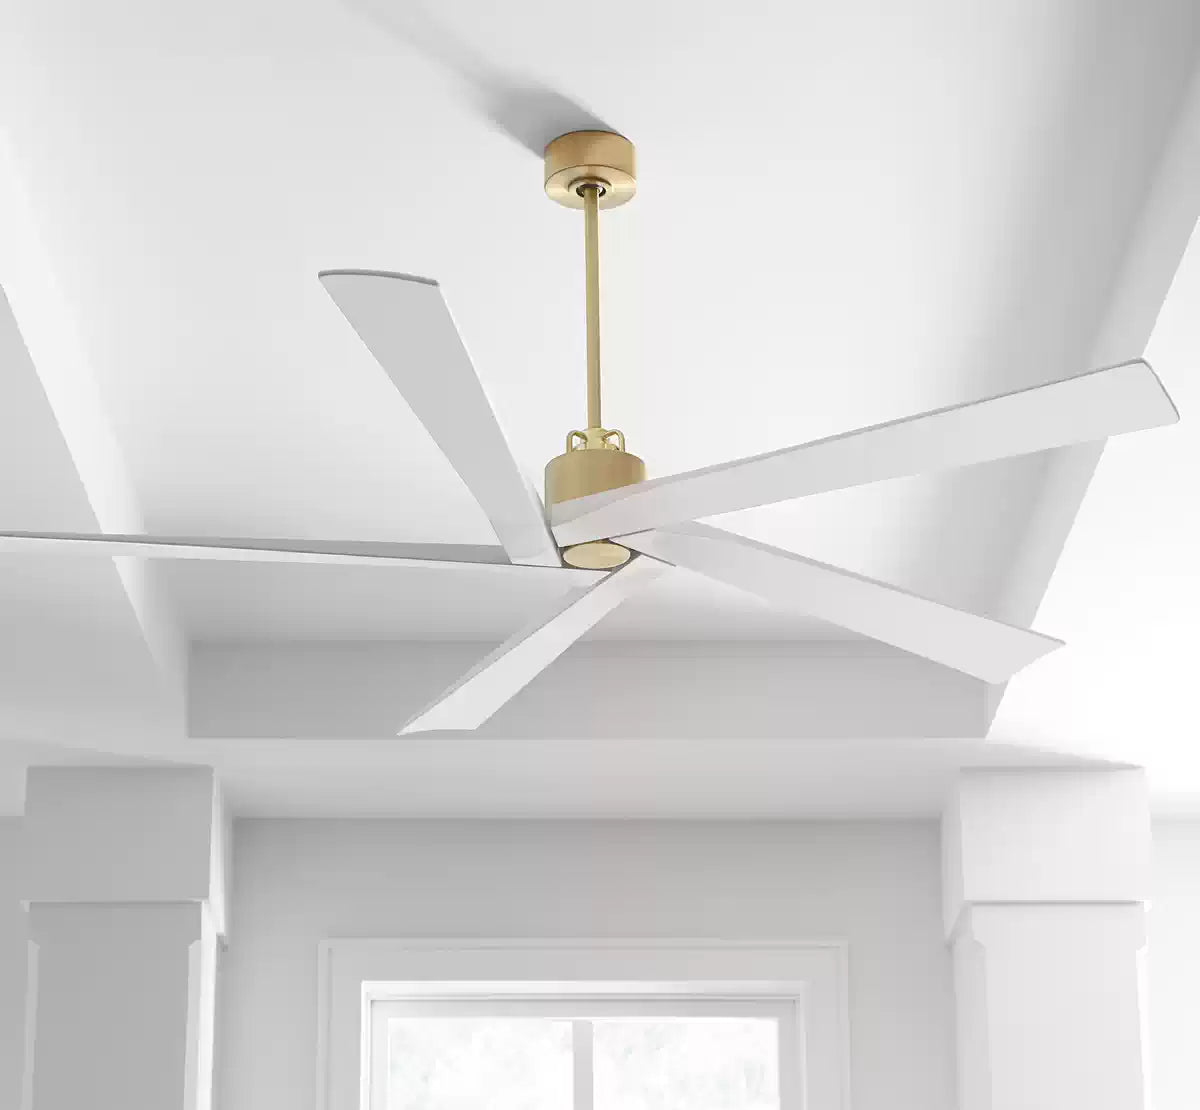


Wiring a light switch is a fundamental skill that every homeowner should possess. It is not only about making a room brighter or darker; the process involves ensuring safety, functionality, and efficiency. Learning how to wire a light switch can save time, reduce costs, and add a personal touch to one's living space. While the task might seem daunting at first, with the right tools and a clear set of instructions, anyone can safely and effectively tackle this project.
1. Preparations Before Installation
Turn Off the Power
Before beginning any work on wiring a light switch, the first and crucial step is to ensure safety by turning off the power. Locate the main circuit breaker box and switch off the power to the light switch circuit. It is advisable to mark the breaker with tape to prevent anyone from accidentally turning it back on while the work is in progress. To double-check that the power is indeed off, use a circuit tester at the switch location. This ensures that there is no live electricity running through the wires, significantly reducing the risk of electric shock.

Gather Necessary Tools and Materials
Having the right tools at hand is essential for successfully wiring a light switch. The necessary tools include:
- Screwdriver
- Electrical tape
- Utility knife
- Wire cutter
- Wire stripper
- Needle-nose pliers
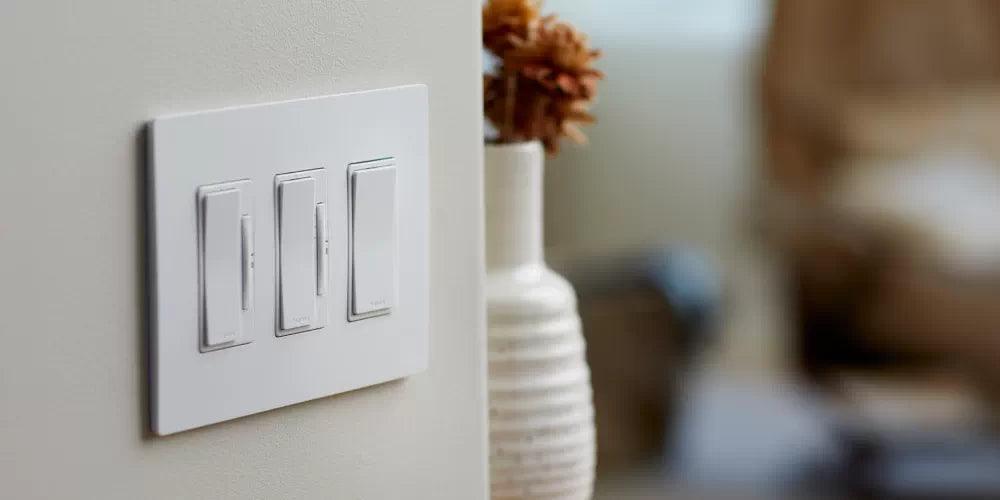
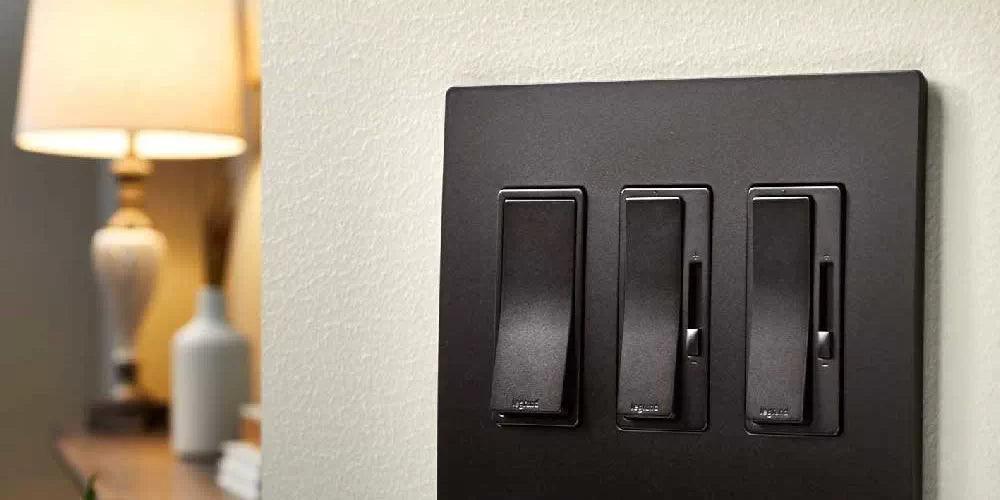
Ensure all tools are in good condition and suited for electrical work. Additionally, verify that the new switch and wall plate are compatible with your installation space and that the switch is correctly oriented (downward in the off position). Preparing these tools and materials beforehand streamlines the installation process, making it smoother and safer.
2. Removing the Old Light Switch
Unscrew the Switch Plate
To begin removing the old switch, one must first unscrew the switch plate that covers it. Typically, this wall plate is secured with one or more screws around its perimeter. Using a screwdriver, carefully remove these screws and set the plate aside.
Disconnect Wires Safely
With the wall plate removed, the wiring connected to the back of the light switch becomes visible. It is crucial to ensure that the power to this circuit has been turned off at the circuit breaker to avoid any risk of electric shock. Once the power is confirmed off, one can proceed to disconnect each wire from the switch terminals. It is advisable to take a photo of the wiring configuration before starting. This serves as a helpful reference for reconnecting the wires correctly during the installation of the new switch.

For switches where the wiring has been pushed into holes at the back, locate the small slots beneath each hole. Using a small flat-head screwdriver, press it into the slot and apply downward pressure. While pressing down, gently pull the wiring out. This method should be repeated for each wire connected in this manner, ensuring all wires are safely removed without damage.
3. Installing the New Light Switch
Connect the Wires
Firstly, isolate the circuit to ensure all power is switched off, then prepare the new switch for installation. Begin by attaching the earth core to the earthing terminal of the mounting box. If using a metal switch, also connect the earth wire to the faceplate. Next, strip about 3/4-inch of insulation from each wire to be connected. Using electrician's pliers, bend each wire into a U shape, which will snugly fit around the switch's screws. Attach the black wire by wrapping it clockwise around one of the brass screws and tighten to secure. Repeat this process with the white wire on the other brass screw. Ensure the copper ground wire is also wrapped clockwise around the green grounding screw and securely tightened.

Secure the Switch in the Box
Once all wires are correctly connected and tightened, gently fold them inside the electrical box. Align the new switch ensuring it is level before securing it with screws. Tighten these screws incrementally, ensuring the light switch remains straight and centered within the box. Finally, replace the switch plate, securing it with its screws to complete the installation. Always double-check that each connection is secure and that the switch operates smoothly without any loose components.
4. Testing and Final Adjustments
Restore Power
After the installation is complete, restoring power to the system is a crucial step in the testing process. This involves turning on the power at the main circuit breaker and verifying that all components are receiving the necessary electricity. It's essential to ensure that the power is restored correctly to avoid any potential hazards.
Ensure Proper Functionality
Once power is restored, it is important to check that all the system's functions are working as intended. This may involve running diagnostic tests, checking for error messages, and ensuring that all the features and settings are operating correctly. Proper light switch wiring is essential as improperly wired switches can lead to fires and even fatalities. Correctly wired switches reduce the risk of electrical hazards such as short circuits and electric shocks.
Faulty wiring can generate excessive heat, increasing the risk of a fire breakout. A small spark from a poorly wired switch can ignite nearby flammable materials, putting your home and loved ones in danger. Additionally, incorrect wiring can expose individuals to the risk of electric shocks, which can be severe and potentially fatal.
To avoid these risks, it is crucial to follow the wiring instructions carefully and ensure that all connections are secure. If any issues are detected during the testing phase, they should be addressed immediately to ensure the safety and functionality of the electrical system.
Leave a comment
All comments are moderated before being published.
This site is protected by hCaptcha and the hCaptcha Privacy Policy and Terms of Service apply.