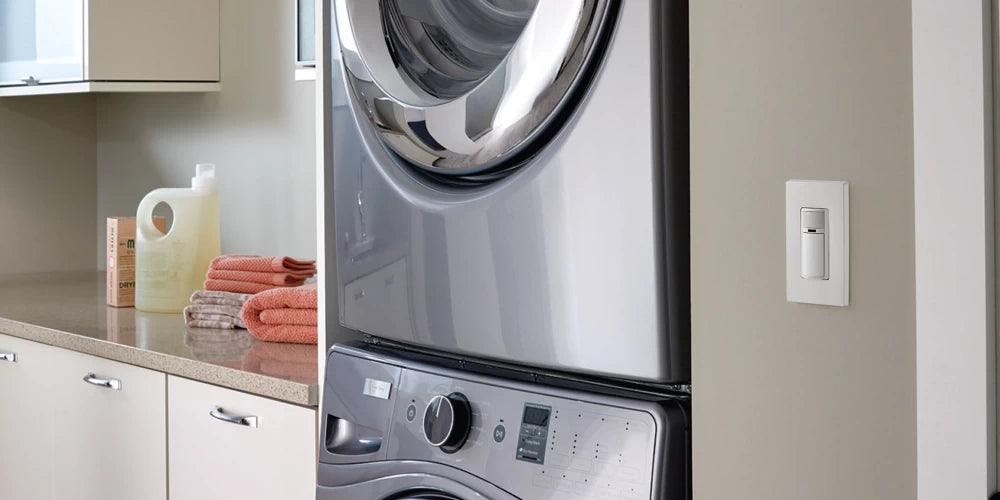
By automating lighting based on occupancy sensor detection, motion sensor switches enhance convenience, bolster security, and contribute significantly to energy efficiency. Beyond merely serving as an innovative tool for bathroom lighting, the incorporation of motion detection in lighting systems ensures that lights are on only when necessary, minimizing waste and reducing utility bills. The relevance of motion sensor light switches extends across various settings, from residential to commercial, highlighting their versatility and the growing demand for smarter, more responsive lighting solutions.
Shop Motion Sensor Light Switches ►
Preparation
Ensure Safety by Turning Off Electricity
Before beginning the installation of a motion sensor light switch, it is crucial to ensure personal safety and prevent any electrical accidents. One must turn off the power at the main circuit breaker box. It is advisable to mark the breaker switch with tape to ensure that it remains off during the installation process. After turning off the power, verify that the electricity is indeed off by using a voltage tester at the switch location. This step is not just a precaution but a necessary measure to avoid the risk of electric shock or fire.
Gather Necessary Tools and Equipment
To install a motion sensor light switch, one needs to assemble the appropriate tools and materials. The necessary tools include wire cutters or pliers, a terminal screwdriver, a knife, and optionally, a drill with large drill bits if modifications to the sensor's casing are required. For verifying the absence of power, a voltage tester is essential. Additionally, ensure that the motion sensor switch kit includes wire connectors, which are typically part of the accessory pack. If handling the electrical wiring seems daunting or unclear, it is recommended to consult with or hire a qualified electrician to assist with the installation. This ensures that the wiring is handled safely and correctly, with no bare wires exposed and all connections securely made.
Removing the Existing Switch
Safety Measures
Before attempting to remove the existing light switch, it is imperative to ensure that all power to the switch is completely turned off. This can be done at the main circuit breaker or fuse panel. It is advisable to mark the specific breaker with tape to prevent it from being accidentally turned back on. Using a non-contact voltage tester, confirm that there is no power running to the switch. This tool is particularly useful as it can detect voltage without direct contact, enhancing safety during the process.
Step-by-Step Guide to Remove
-
Confirm Power Disconnection: Double-check that the power is indeed off by using the non-contact voltage tester around the switch area. This step is crucial to ensure safety before proceeding.
-
Remove the Faceplate: Start by using a small flat head screwdriver to remove all screws securing the faceplate to the wall. If the wall plate has been painted over, gently score around the edges with a razor blade to separate the paint from the plate, preventing any damage to the wall.
-
Unscrew the Switch: Once the faceplate is off, unscrew the switch from the electrical box. Carefully pull out the switch with the wires still attached. Ensure not to tug sharply to avoid disconnecting or damaging the wires.
-
Identify the Wires: Typically, there are two or three wires connected to the switch: an incoming hot wire (usually black), a return wire (black, red, or another color, but not green), and possibly a grounding wire (green or bare copper). Note any wire using black tape as it indicates a non-standard use which might not be neutral.
-
Disconnect the Wires: After identifying the wires, disconnect them from the switch. If the wires are looped around the screw terminals, unscrew them carefully. If they are connected via wire nuts, untwist the nuts to release the wires.
By following these steps, one can safely remove the existing switch in preparation for installing a new motion sensor.
Wiring the New Motion Sensor Switch
Identifying Different Wires
When wiring the new motion sensor switch, it is crucial to correctly identify each wire to ensure the system functions properly. First, locate the ground wire in the wall, which is typically bare copper or green. Next, identify the black wire as it usually serves as the hot wire, carrying the live current. The red wire generally connects to the load, leading to the light fixture, and is essential for controlling the lighting. The white wire is the neutral wire and should be connected accordingly.
Proper Wiring Technique
-
Ground and Neutral Connections: Begin by tying the silver and green wire from the occupancy sensor together with the existing ground wire in the wall. Use the yellow nut cap provided with the sensor to secure these connections. Ensure the cap is tightly screwed, as shown in instructional videos or diagrams.
-
Connecting Hot and Load Wires: Attach the black wire from the sensor to the black hot wire in the wallbox. Similarly, connect the red sensor wire to the wire leading to the light fixture. Each connection should be secured using the yellow nut caps, ensuring they are tightly fastened to prevent any loose connections.
-
Securing Unused Wires: If there are any unused wires, such as a blue wire in some models, cap it off with a wire nut to ensure safety and prevent any electrical hazards.
-
Final Adjustments: After all wires are connected, carefully tuck them back into the wall hole. Secure the motion sensor switch to the wall using the screws provided. Before restoring power, double-check all connections for firmness and correctness to ensure everything is set up correctly for optimal operation.
By following these steps and ensuring each connection is secure, the motion sensor switch will be properly wired and ready for testing.
Testing and Final Adjustments
Checking for Proper Functioning
-
Set to Test Mode: Initially, set the timer to the "Test" setting, which turns the light off shortly after activation. This quick test helps confirm that the motion sensor light switch is responsive and detects movement accurately.
-
Adjust Detection Zone: Aim the sensor head to fine-tune the detection zone. If the zone is too long, tilt the sensor head downwards; if too short, tilt it upwards but maintain a minimum distance of 1 inch from any light sources. Utilize the range dial to make finer adjustments, starting at the maximum setting and reducing it to decrease the detection zone.
-
Trial and Error with Sensitivity: If the motion sensor triggers too frequently, reduce the sensitivity by partially covering the sensor lens with electrical tape. This adjustment helps narrow the detection field and prevents false triggers from small animals or distant movements.
Making Necessary Adjustments
-
Timeout Settings: Adjust the timeout settings to determine how long the light stays on after no motion is detected. Options typically include 1 minute, 5 minutes, 15 minutes, or 30 minutes. For instance, to set a 1-minute timeout, press and hold the adjustment button until the device blinks once; for a 30-minute timeout, let it blink five times before releasing.
-
Sensitivity Levels: For environments with variable lighting or traffic, adjust the sensitivity settings. To decrease sensitivity, press and hold the designated buttons until the sensor blinks once. To increase sensitivity, hold until it blinks twice. This adjustment ensures the light only activates when necessary, optimizing energy usage.
-
Mode Selection: Choose between different operational modes such as manual on/auto off (vacancy mode), automatic based on motion, or based on ambient light levels. Each mode can be selected by holding down a button until the sensor blinks a corresponding number of times. This flexibility allows customization according to specific needs and conditions.
By carefully testing and adjusting the motion sensor, users can ensure optimal performance and energy efficiency, reducing unnecessary power consumption and enhancing convenience and security in their space.


Leave a comment
All comments are moderated before being published.
This site is protected by hCaptcha and the hCaptcha Privacy Policy and Terms of Service apply.