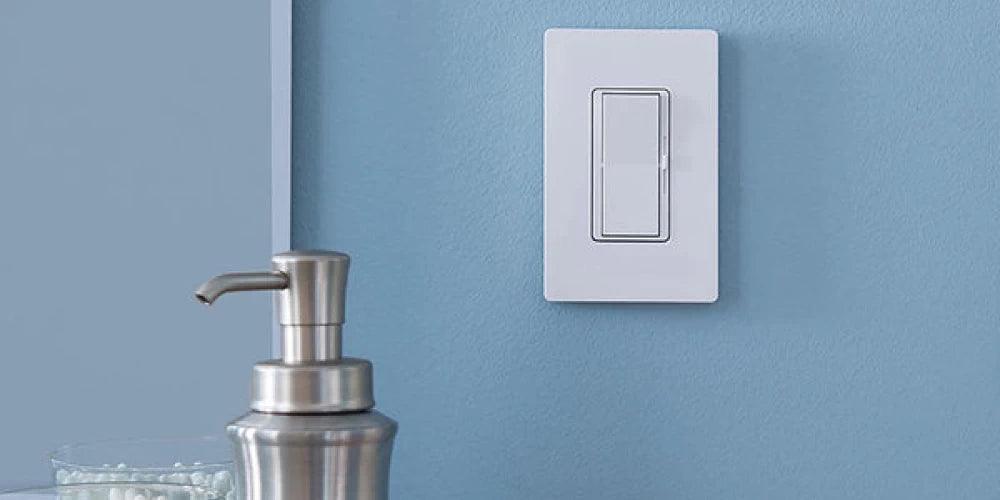
Upgrading the aesthetic appeal of a room often lies in the details, and one element that can significantly contribute to this transformation is installing screwless wall plates. These decorative wall plates offer a sleek and modern look, eliminating the visible screws that can detract from a room's overall design. Additionally, screwless outlet covers are not only about aesthetics; they represent a simple yet impactful home improvement project that can be undertaken by anyone looking to refine their living space. With the increasing popularity of decorative switch plates and outlet covers, understanding the proper installation technique for screwless wall plates becomes essential.
Preparation and Safety Measures
Gather Necessary Tools
To begin the installation of screwless wall plates, individuals will require a few essential tools. A flat-head screwdriver is necessary for unscrewing the existing wall plate, and a voltage tester is crucial to ensure safety by confirming that the power is off. These tools are readily available at any local hardware store and are fundamental to both removing the old plate and installing the new screwless one.
Ensure Power is Off
Safety is paramount when working with electrical components. Before starting the removal of the existing wall plate or the installation of the new screwless wall plate, it is essential to turn off the power at the circuit breaker. Use the voltage tester to check multiple points, such as the screws and switch, to confirm that there is no electrical current flowing. This step not only prevents the risk of electric shock but also ensures a safe working environment.
Removing the Existing Wall Plate
To remove an existing screwless wall plate, start by ensuring all power to the outlet is turned off at the circuit breaker. This precaution prevents any risk of electric shock.
-
Identify the Type of Wall Plate: Determine if the wall plate has hidden screws or if it is a snap-off type. For plates with hidden screws, locate the small indentations or slots where a tool can be inserted. Plates without visible screws typically have clips or tabs that secure them to the wall.
-
Using the Appropriate Tool: For wall plates with hidden screws, use a flathead screwdriver or a similar tool to gently pry the plate away from the wall. Insert the tool into the slot and carefully twist to loosen the plate without damaging the wall or the plate.
-
For Snap-off Plates: Place your fingers or a flat tool under the edge of the plate and gently apply pressure. It’s advisable to use your thumbs against the plate and your knuckles against the wall for leverage, helping to pop the plate off without excessive force.
-
Handling Stuck Plates: If the plate has been painted over or is old, it might be stuck. Carefully cut through the paint around the edges with a utility knife. Pry the plate off slowly, ensuring not to damage the underlying wall or the plate itself.
-
Safety Check: Once the plate is removed, visually inspect the outlet box and wiring to ensure there are no exposed live parts before proceeding with any further work. If unsure about the wiring condition, consider consulting a professional.
By following these steps, one can safely and effectively remove an existing wall plate, preparing the area for the installation of a new screwless wall plate.
Installing the New Screwless Wall Plate
Placing the Inner Frame
Once the old wall plate is removed, the next step is to position the inner frame of the new screwless wall plate. This frame acts as the base and should be aligned with the electrical box in the wall. They should ensure that the frame sits flush against the wall and is level to avoid any gaps or unevenness once the cover is attached.
Attaching the Screwless Cover
After the inner frame is securely in place, the decorative screwless cover can be attached. This cover typically snaps onto the frame with a gentle but firm pressure. They should start from one side and press firmly along the edges until they hear a click, indicating that the cover is securely fastened. This method ensures that no screws are visible, maintaining the sleek and modern appearance of the screwless wall plates.







1 comment
9.5mm laminate flooring
Great information! Installing wall plates can be a wonderful thing to consider. Thanks for the step by step guide you have provided regarding installation of screwless wall plates. Keep posting.
9.5mm laminate flooring
Leave a comment
All comments are moderated before being published.
This site is protected by hCaptcha and the hCaptcha Privacy Policy and Terms of Service apply.